Pages

Thursday, February 26, 2009

Sketch Challenge


This is the first time I've joined a sketch challenge, and I've had a lot of fun giving it a try! My card is based on Makeesha's sketch here.

My card ended up with a bit of a country feel.

Using the A Little Bit of Happiness hostess set, I stamped and embossed the image, then coloured it with the Watercolour Wonder Crayons, in the Rich Regal colours. Then I matched the image with cardstock in Close to Cocoa, Rose Red, Night of Navy, Brocade Blue and Old Olive, most of them distressed on the edges with their matching ink colours. I stamped the polkadots from the Polka Dots & Paisley set on the Brocade Blue piece.

But my favourite part was making the cute scallop frame. First I punched a 1 1/4" circle on a piece of Old Olive card, then punched the Scallop Circle punch over that, centering it over the circle I had already punched. I adhered it with scraps of dimensionals.

In the top right corner it was looking a little empty, so I sprinkled some hearts from the Sprinkles set!

Wednesday, February 25, 2009

Scrapbooking with Baroque Motifs and Carte Postale


Baroque Motifs and Carte Postale are two of my favourite Stampin' Up! sets, and so I was happy when I came to scrapbook these photos the other night, and they matched beautifully with the photos. The Sage Shadow and Chocolate Chip colour combo was also a perfect match for this page.
These were some photos taken when Emily had just bought new sunglasses, and then she pulled a few funny faces too for the other photos.

I stamped the swirly scrolly design a few times diagonally across the page, added some little stamped white flowers, then stamped the bird from Carte Postale on each page - so quick and easy.

See how well it matches with Emily's t-shirt? (although I must admit it has taken me so long to get to these photos that this t-shirt has been handed down in the meantime!)


I handwrote the title with a dark brown gel pen. All done in about half an hour while simultaneously chatting, eating chocolate, and taking a few Stampin' Up! orders.

Too easy!

Wednesday, February 18, 2009

Scrapbooking with Stampin' Up!


All this time I've been enjoying making cards with Stampin' Up!, and scrapbooking when the mood takes, but not using the SU products so much for scrapbooking, for some reason (hmmm maybe my sizable stash of scrapbooking supplies has something to do with that!). Last night I sat down and created these 2 quick pages using only SU products and boy - was it quick and easy. No fiddling round matching colours and embellishments - yey! This sweet paper was from the Spring mini catalogue, it matches well with Emily's red t-shirt. I loved the Bold Outline Letters with white EP, they came out so fine but readable.


Embellishing was easy with a few dotty stamps from different sets, and the scallop circle punch.

The other page was a bit more colourful, taking inspiration from the beautiful flowers Steve gave me for my birthday.


Of course the Bodacious Bouquet was a natural choice for this page. I rocked and rolled the large flowers and used colours from the photo, and I love how it turned out! The word window punch was great for journalling.


hmmmm ... looks like I'll be reaching for my Stampin' Up! supplies much more often for scrapbooking from now on!

Finding Joy in the Little Things

red-daisy-card1

Today I played for the first time with the Polka Dots and Paisley set, it was one of the ones I chose in my Starter Kit so I was sorry to find out it will be retired soon. It's a cute little set.

It's been a miserable grey day so I wanted to make something quick and cheery. So out came the bold colours, I had to go for Real Red and white for the first play with the polkadots! And the Green Galore makes the red really pop.

In making it I did "find joy in the little things" - the ability to play with new stamps, a roof over my head and relief from the hot weather last week. After watching events in Victoria this week I am so thankful for all the little things we have and usually take for granted, and my sympathy goes to all those who have lost so many "little things" as well as the big ones.

So I was happy to read that Stampin Up! have just announced a Bushfire Appeal. You can read all about it HERE. They are donating 50% of the retail value of all sales from a select group of 10 stamp sets.
I was disappointed the Bodacious Bouquet set and Polka Dots and Paisley sets will be retired (when I am just getting to know them LOL) but if they have to go, this is the best way to do it! Please email me if you'd like to order any of the sets in this appeal:
Priceless pg105 $48.95
Seeing Spots pg89 $29.95
Baroque Motifs pg98 $39.95
Live Your Dream pg3 (Summer Mini)
Looks Like Spring* pg76$58.95
The Snowflake Spot* pg27 $39.95
Bodacious Bouquet* pg80 $58.95
Polka Dots & Paisley* pg46 $35.95
G'day Mate* pg115 $35.95
Be Happy* pg51 $39.95

*These sets will appear on the upcoming list of retiring products, so they will only be available for the Bushfire Appeal--while supplies last.


Gift Wallet

Using Marelle's instructions here I have made plenty of gift wallets in the last year.
This was one of the most colourful and fun to make:

I included a coordinating pen from Kikki K. (love that shop)

Some cards from the pack:

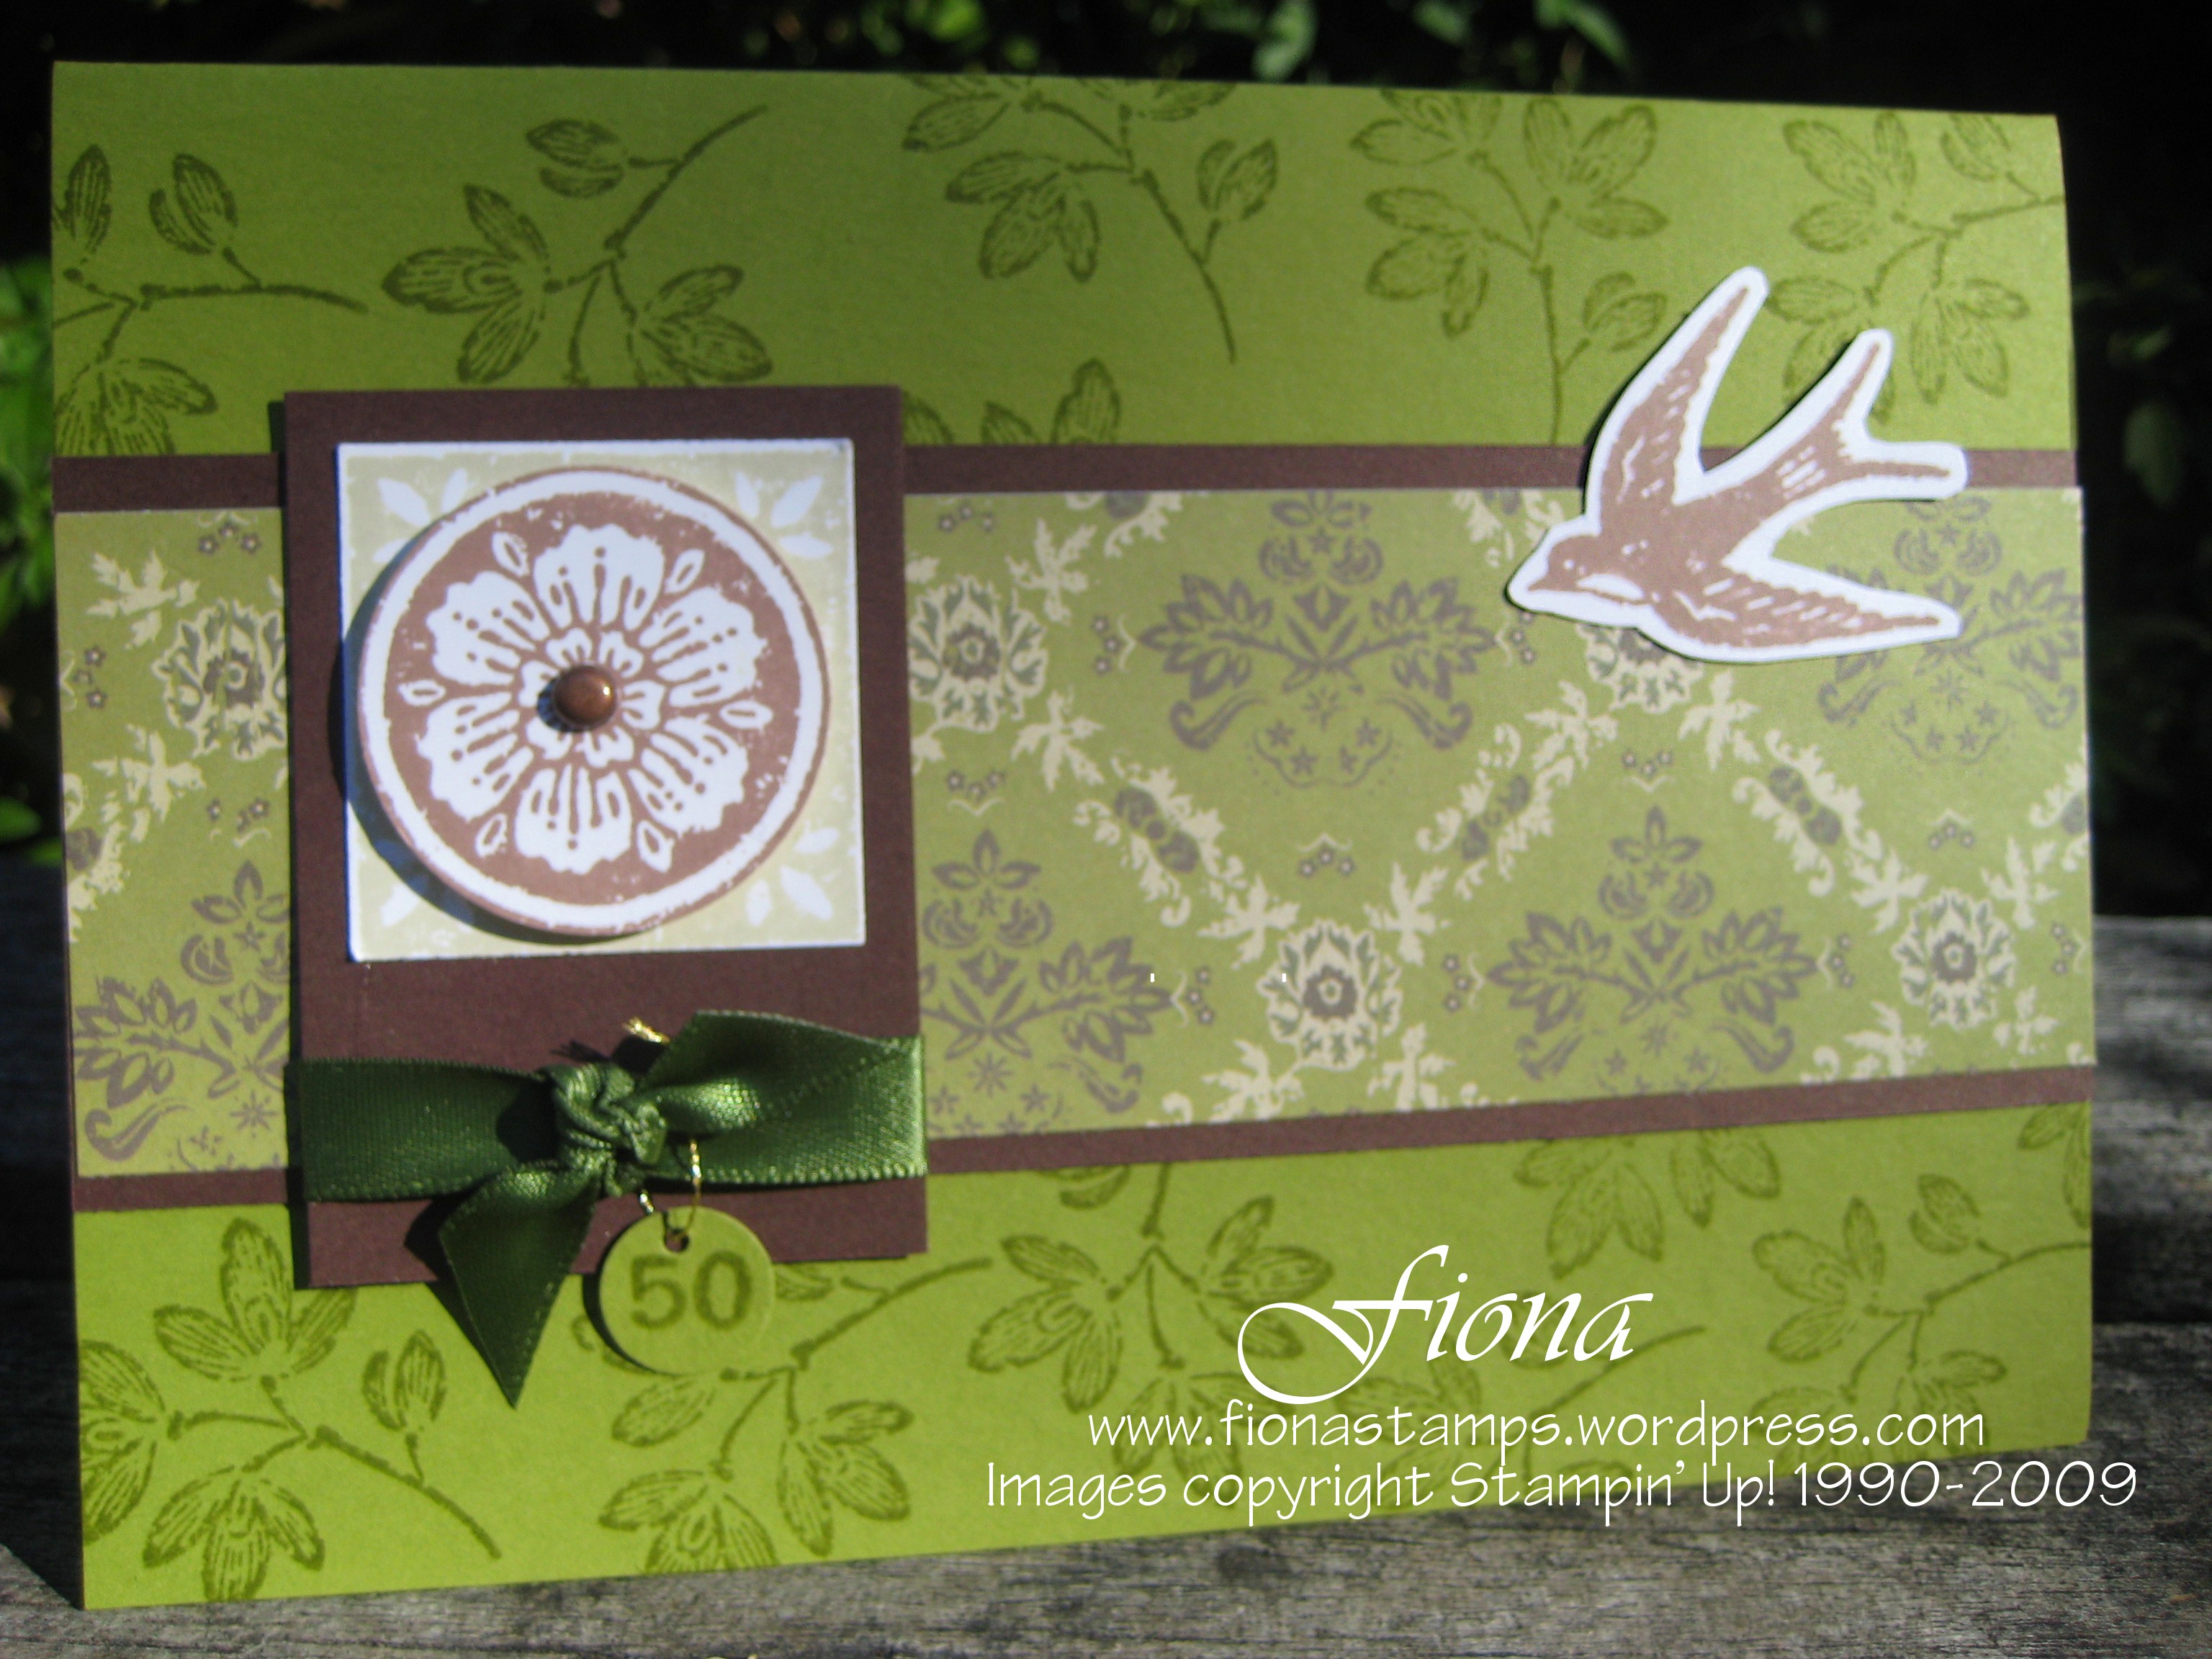
Carte Postale 50th Card

This is the card I made for my sister-in-law's 50th birthday.

carte-postale-50th1

I am so loving the Carte Postale set, especially with the Brocade Background papers.

It is just too easy to make something beautiful!

Stampin' Up! Kid's Card Kit

This is a gift I put together for an 11 year old girl. The pieces are pre-cut with tape or Stampin' Dimensionals on the back, ready to stick.

These are the "finished" cards (pieces are not stuck together except for the stamped shapes to their matching scallops) .... I took this photo to give the recipient some ideas of how to put the cards together.

And this is the kit ready to give:

The stamped images are from the Stampin' Up!® Wild About You set, and I used my Cuttlebug to cut scallops and emboss backgrounds.

I made a personalised header card on the computer and stapled it to the top of the pack to finish it off.

This was a quick project and didn't cost me "anything" - well let's just say that I didn't buy anything specially for this! And the best bit was that I didn't rush out to the shops at the last minute to buy something.

Birthday Cards

On the weekend we celebrated some family birthdays, so out came the stamps to whip up some quick cards ....


and a gift of a Note Box with 9 Notecards:

I decorated the box using the So Swirly wheel and the Carte Postale set
I made 3 each of 3 styles of notecard, hopefully my aunt can use them for any occasion.

For these cards I used the Carte Postale set:


This one ...Think Happy Thoughts, Short & Sweet, In the Spotlight and Friendship Blooms

and for this one I used A Little Bit of Happiness and Sprinkles:

(Images copyright Stampin' Up!)

Bodacious Bouquet

A sneak peek at what I've been doing .... playing with the Bodacious Bouquet set ...

bodacious-tulips

Welcome to my new blog!


I'm a new Stampin' Up! demonstrator in Sydney, Australia and I'm looking forward to posting lots of my stamping and scrapbooking projects. I've been stamping for about 17 years and am thrilled to have finally joined Stampin' Up!, because after all, they do have the best stamp sets, ink and cardstock colours!
I received my Starter Kit a couple of days ago - so much fun!

These are the stamp sets I chose:
Fun & Fast Notes
Bodacious Bouquet
Sprinkles
Polkadots and Paisley
Lovely Labels